Manage Webhook
The "Webhook Management" feature in GO4Network allows you to create, edit, and manage webhooks for various events. Follow the steps below to manage webhooks using the application:
Prerequisites
Before you begin, make sure you have:
- Logged in to your GO4Network account and are on your console dashboard.
- Webhook URL to receive payload from GO4Network.
Steps to Manage Webhooks
1. Navigate to Webhook Management
In your console dashboard, locate the "API & Webhook" menu in the navigation bar. Hover on it to reveal the dropdown menu.
2. Access Webhook Management Section
From the dropdown menu, select "Webhook Management" to access the Webhook Management section.

3. Add a New Webhook
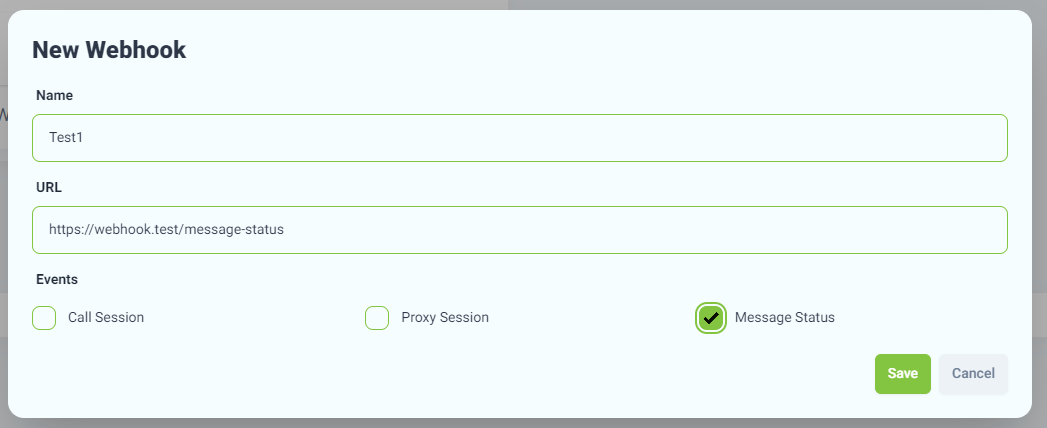
- Click the "Add Webhook" button to create a new webhook.
- Fill in the webhook name and URL in the input fields.
- Check the events for which the webhook should receive notifications.

4. View All Created Webhooks
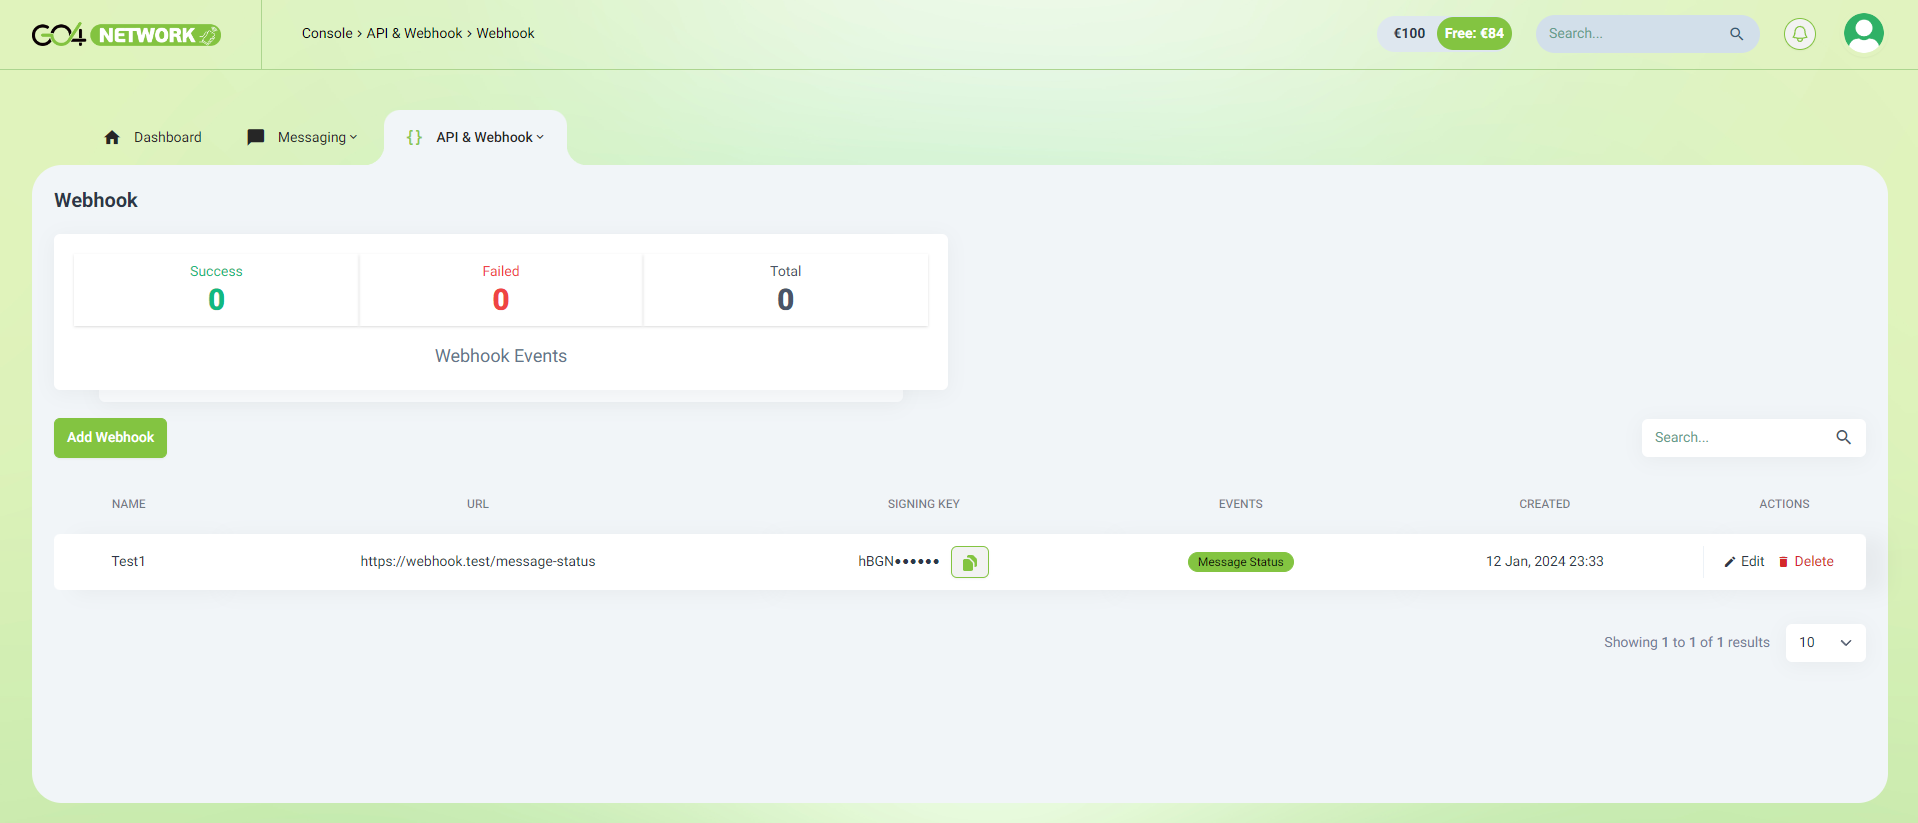
- Once created, you can view a table of all your webhooks in the Webhook Management section.
- Use the search functionality to find webhooks by name.
- The top section shows statistics on webhook events count (Success, Failed, Total).

- Table Actions:
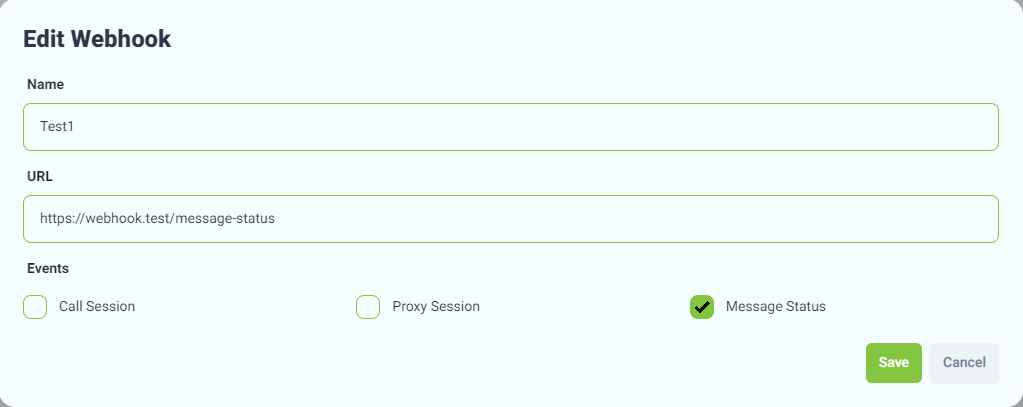
- Edit: Click the edit action button to show a modal popup for editing webhook details.
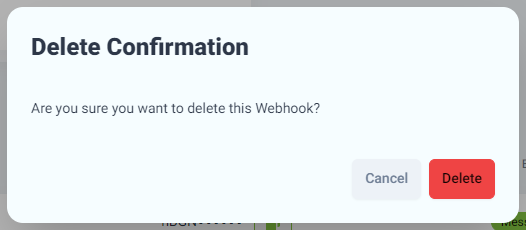
- Delete: Click the delete action button to show a confirmation popup for deleting the webhook.
- Copy Signing Key: Click the small copy icon button beside the signing key value to copy the signing key.
5. Modal Popups for Add, Edit, and Delete
- When adding a new webhook or editing an existing one, a modal popup will appear with the necessary fields.

- For deletion, a confirmation popup will appear before finalizing the action.

Congratulations! You have successfully managed webhooks using the GO4Network application. If you have any questions or encounter any issues, feel free to reach out to our support team for assistance.